
Posted inHousehold & Miscellaneous Setup
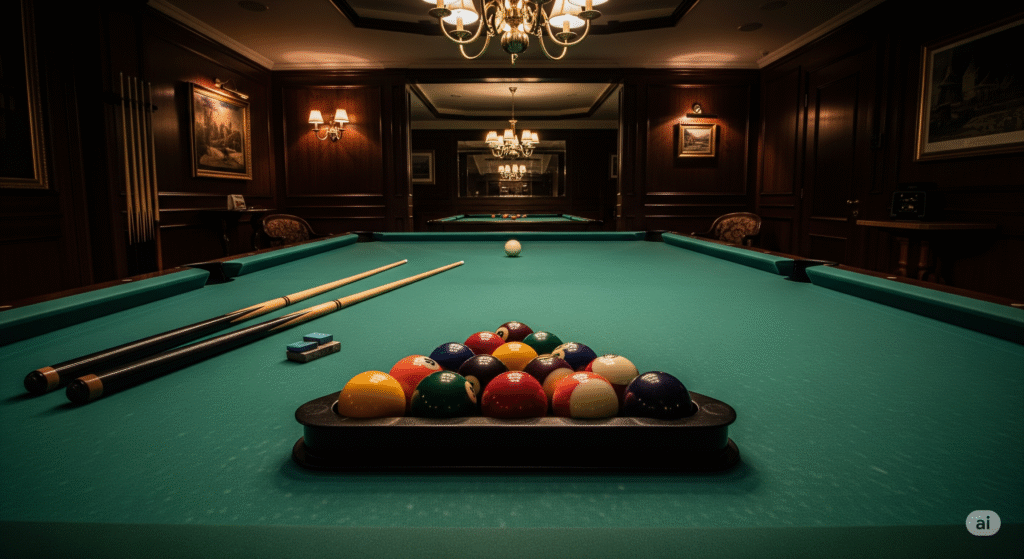
pool table setup ❤️
"The first time I saw a pool table at my uncle’s house, it looked perfect — shiny green felt, polished cues, and a light hanging right above. Years later, when I bought my own, I realized it doesn’t magically come ready like that. Pool table setup is an art: levelling, spacing, and getting everything balanced. ... Read more