
When I first saw the word “InsydeH20 Setup Utility” on my laptop screen, I didn’t know what it represented. I was only aware that a mistake may have an impact on my system’s functionality. At first, the computer’s technological settings and choices made it seem like a secret realm. But as I grasped it, I saw that it’s the secret to fundamental hardware control, from system security to boot order. Many people see it, but they are unaware of its potency, I thought at that moment.
The InsydeH2O Setup Utility: What is it?
One kind of BIOS (Basic Input/Output System) firmware created by Insyde Software is the InsydeH2O Setup Utility. Consider it the brain that powers your computer. Low-level hardware parameters that the operating system relies on are managed by this firmware. Because InsydeH2O is lightweight, UEFI compliant & supports contemporary technologies like Secure Boot, it is used by several well-known laptop makers, including HP, Acer, Lenovo or Toshiba.
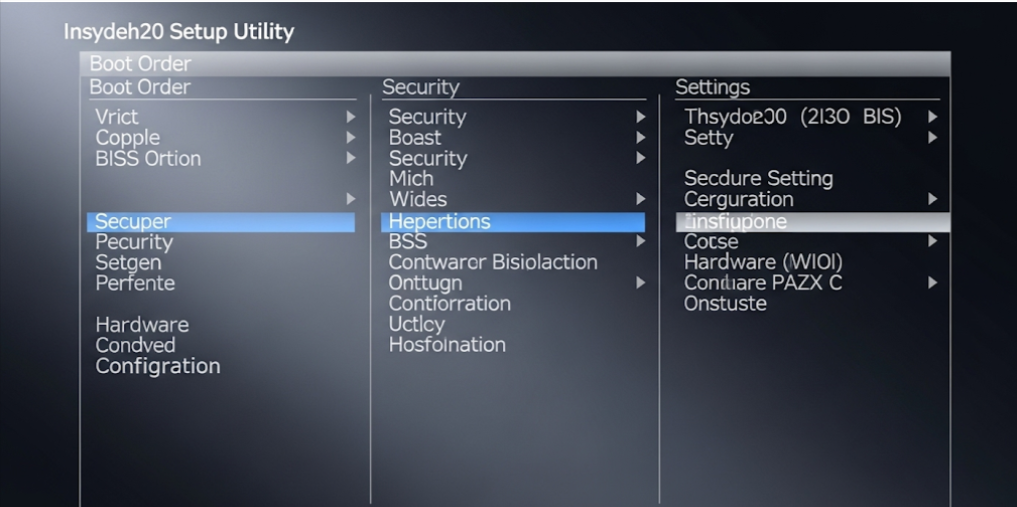
You may use this setup utility during startup by pressing specific keys, such as F2, F10, F12 or ESC. You may examine and modify boot order, security settings, hardware specifications and more here.
The InsydeH2O Setup Utility: Why Would You Use It?
Why would I ever want to tamper with the BIOS, you ask, friend? Well, there are times when you just have to. People use the InsydeH2O Setup Utility for the following reasons:
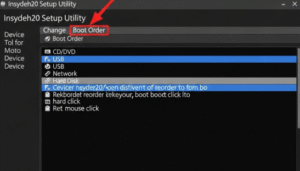
- Modify the Boot Order: You must choose an external device or USB drive as the primary boot device if you wish to boot from one of these.
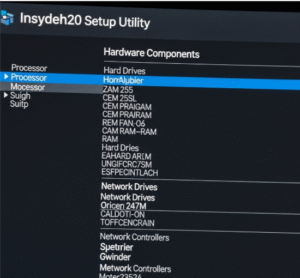
Insydeh20 setup utility - Hardware Components: You may turn off internal devices, unneeded ports, and functions like virtualization.
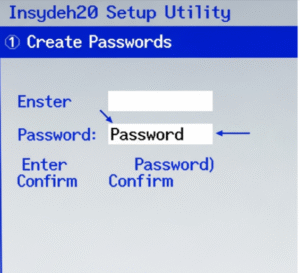
Insydeh20 setup utility - Create Passwords: Create BIOS or HDD passwords to provide an additional degree of protection.
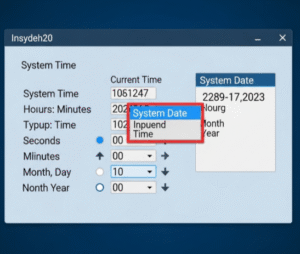
Insydeh20 setup utility - Update System Time and Date: Many procedures depend on the accuracy of your system’s clock.
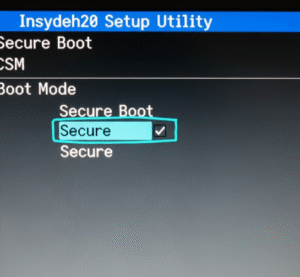
Insydeh20 setup utility - Turn on Secure: Boot to help stop unwanted software from starting up at launch.
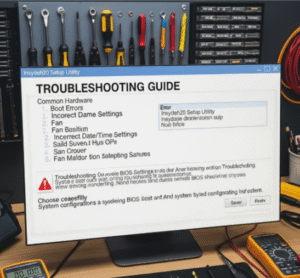
Insydeh20 setup utility - Troubleshoot Hardware Issues: A simple check of the BIOS will assist if your laptop is performing strangely or isn’t detecting new hardware.
Insydeh20 setup utility
How to Use the InsydeH2O Configuration Tool
Hi Reader, this is a step-by-step guide to using the InsydeH2O Setup Utility:
- Turn Off Your Computer: Ensure that your computer is turned off entirely.
- Turn it on and hit the right key: The most often used keys are ESC, F2, F10, and F12. The brand of your laptop will determine the precise key; often, you’ll see something like “Press F2 to Enter Setup.”
- Be cautious when navigating: To navigate between menus, use the arrow keys. Your mouse normally won’t work here, unlike Windows.
- Make Adjustments: Exercise caution! Modify just what you comprehend.
- Save and Exit: To save and exit after finishing, either select the “Save & Exit” option or press F10.
The InsydeH2O Setup Utility: Best Practices
Your entire system may be affected if you change the BIOS settings. Here are some essential guidelines:
- Do Your Homework: Before making any changes, find out what a setting does if you don’t know.
- Write Down Defaults: Take note of the existing settings before making any changes. In this manner, you may go back if necessary.
- Update Carefully: Although BIOS updates might include new features and fixes, you must follow your manufacturer’s instructions to the letter.
- Steer clear of random tweaks: BIOS is not the place for experimentation. Errors may result in boot failures.
- Follow Manufacturer information: For model-specific information, always visit the official support website for your laptop.
Typical Problems with the InsydeH2O Setup Utility
Users may run into issues when using InsydeH2O:
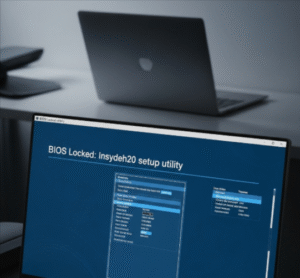
- BIOS Locked: Some laptops have a password that you can not remember that locks the BIOS. The safest course of action is frequently to get in touch with the manufacturer.
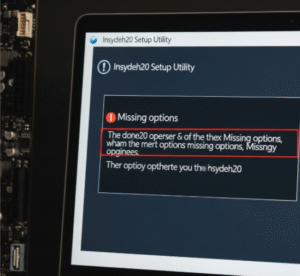
Insydeh20 setup utility - Missing options: To avoid unintentional modifications, the laptop manufacturer may conceal some options.
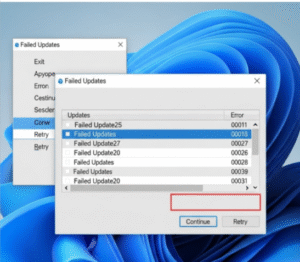
Insydeh20 setup utility - Failed Updates: Your device may get bricked if a BIOS upgrade fails. Always make sure there is steady electricity and adhere strictly to the prescribed procedures.
Insydeh20 setup utility
How the InsydeH2O Setup Utility Can Be Reset
You can restore the BIOS to its original settings if you ever need to reverse changes:
- The InsydeH2O Setup Utility is now available.
- Search for “Load Optimized Defaults” or “Load Setup Defaults.”
- Before leaving, choose it, make sure, and save your modifications.By doing this, all of your laptop’s settings will be returned to as they were when it was brand new.
Concluding remarks
My friend, although the InsydeH2O Setup Utility may initially appear daunting, it serves as your entryway to more extensive control over the hardware of your machine. Knowing how to use this tool may help you save time, worry and even money, whether you need to set a BIOS password for more protection, activate virtualization for a virtual machine or boot from a USB.
Never forget to use caution while adjusting BIOS settings and only make changes you fully understand. The user manual for your laptop and the manufacturer’s help page are your closest friends if you are ever unsure.
You are in charge, so do not be scared the next time you see that blue screen with “InsydeH2O Setup Utility” at the top! Make good use of it, and your system will appreciate it.
FAQ’S:
What is the InsydeH2O Setup Utility ?
BIOS/UEFI firmware utility is used to set up the boot sequence, security settings and hardware settings of your machine.
Second question: How can I launch the InsydeH2O Setup Utility?
Restart your computer and press the key that appears on your starting screen, which is typically F2, F10, ESC, or DEL.
In the InsydeH2O Setup Utility, what can I modify?
You can establish passwords, modify system time, activate Secure Boot, enable or disable hardware, and alter the boot sequence.
Is altering BIOS settings safe?
If you know what you're doing, yes. Incorrect modifications may result in boot problems.
How can I return the InsydeH2O BIOS to its factory settings?
Go to "Load Setup Defaults" or "Restore Defaults" in the Setup Utility, click "Yes," save, and close.
Can I use InsydeH2O to upgrade my BIOS?
bootable USB or Windows are typically used to update the BIOS rather than the setup tool itself.
How can I proceed if my BIOS is password protected?
To safely unlock your laptop, you'll need to get in touch with the manufacturer.
What gives it the name InsydeH2O?
Insyde Software uses this term to refer to their UEFI firmware, which supports contemporary hardware features.

