
When I opened the package containing my new Epson printer, “Epson Setup Navi” saved the day. The Navi app acted as my personal assistant, guiding me instead of requiring me to juggle complicated processes and instructions. Everything went well, from setting up drivers to connecting to Wi-Fi to performing the initial test print. My printer was ready in no time at all, and Epson Setup Navi seemed to simplify a difficult procedure.
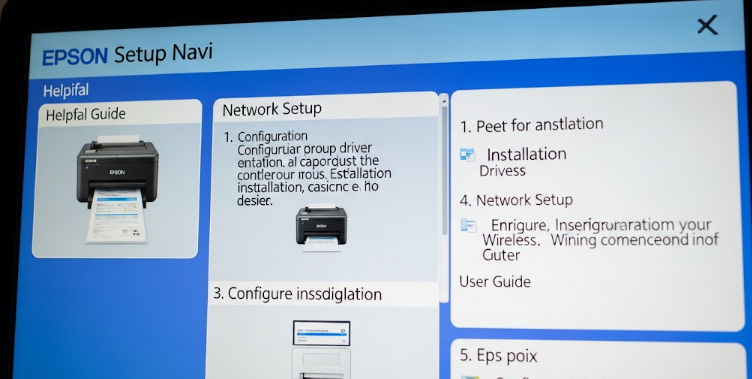
Epson Setup Navi: What is it?
Epson created it, an official setup aid, to make printer installation easy, even for non-techies. This tool assists you whether you have a new Epson EcoTank, Expression or Workforce printer.
- Link your printer to the Internet.
- Install the most recent drivers.
- Register your item.
- Get access to guides and useful videosThe days of searching random websites for drivers or putting in CDs are long gone. Everything you want is in one location with it; it’s secure, current and simple to use.
The Epson Setup Navi Download Process
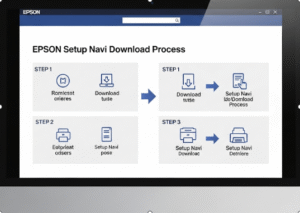
it is easy to download, so don’t worry, friend. Simply do these easy steps:
1. Go to the Epson official website: Visit www.epson.com or the Epson website for your nation.
2. Find Your Printer Model: To find your printer model, such as “Epson ET-4760” or “Epson L3150,” use the search box.
3. Download Epson Setup Navi: Locate the Downloads or Drivers and Utilities section on the support website for your printer. “Epson Setup Navi” will be shown; download the installer for your Mac or Windows computer.
4. Launch the installer: Follow the on-screen directions after opening the downloaded file. It will walk you through every step of the setup process, including setting up your printer and connecting to Wi-Fi.
Step-by-Step Instructions for Using Epson Setup Navi
Hi there, reader! To ensure you know precisely what to anticipate when using it, here is a brief walkthrough:
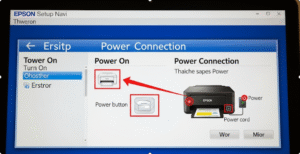
- Step 1: Turn on and connect power
Press the power button after plugging in your printer. Verify that there is adequate paper and ink loaded.
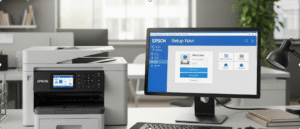
- Step 2: Start Epson Setup Navi
Launch the installation that you downloaded. Your printer model will be immediately detected by Epson Setup Navi.
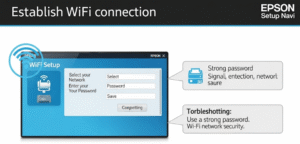
- Step 3: Establish a WiFi connection
To select your Wi-Fi network and provide your password, adhere to the instructions. This step is made simple by the tool; there’s no need to bother with little printer displays!
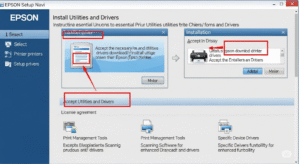
- Step 4: Install utilities and drivers
Epson Configuration Navi will download your device’s most recent drivers automatically. This guarantees that your printer and computer or mobile device will function properly together.
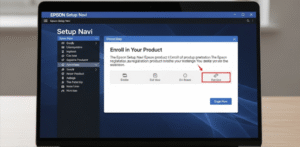
- Step 5: Enroll in Your Product
By registering your printer, you may obtain updates and support as well as activate your warranty.
- Step 6: Print a Test Page
To ensure everything is functioning properly, do a short test print at the end. You are now prepared for printing, scanning, or copying!
Common Problems and Their Solutions
Even the greatest instruments can encounter problems, my buddy. A few typical issues and their fixes are as follows:
- Can not Detect Printer: Verify that your computer’s Wi-Fi is turned on and that your printer is turned on. Check the cable connection if you’re using USB.
- Failed Wi-Fi Setup: Verify your network password twice and make sure your router isn’t preventing new devices from connecting. Make an effort to get your printer closer to the router.
- Driver Installation Failed: Turn off any antivirus software that could be preventing the installation for a while. Try it again after restarting your computer.
Expert Advice for Epson Setup Navi
Hi Reader, before you go, follow these few guidelines to ensure a seamless Epson setup experience:
- Update the Firmware: Epson Setup Navi looks for firmware upgrades. For optimal security and performance, always install them.
- Use the Same Network: In order for your computer and printer to interact, they need to be connected to the same Wi-Fi network.
- Bookmark the Support Page: Keep the support page for your printer close at hand. Anytime you need them, you may find driver updates, FAQs, and manuals there.
- Save the Installer: After the Epson Setup Navi has been set up, save a copy of the installer to your PC. If you add a new device or change networks, you might require it.
Concluding remarks
It does not have to be difficult to set up a printer, my buddy. You can avoid the complexity and start printing your papers, school projects, or pictures right away with it. Regardless of your level of IT expertise, this tool will help you.
I hope this tutorial gives you the confidence and ease to set up your Epson printer. If this was useful to you, tell a friend who could also benefit from it!
Read more: Setup brother.com ❤️
10 FAQ’S:
What is Epson Setup Navi ?
The official Epson setup program, it, makes it simple to install drivers, connect your printer to Wi-Fi, and register your device.
Is it free to utilize Epson Setup Navi?
Indeed! For Epson customers, Epson Setup Navi is completely free.
Where can I find Epson Setup Navi to download?
Get it from the Epson website's official support page for your printer.
Does Epson Setup Navi require an internet connection?
In order to download drivers and updates, you do require an internet connection.
Is Epson Setup Navi compatible with Macs?
Of course! Epson Setup Navi is compatible with Mac and Windows operating systems.
What happens if my printer is not found by Epson Setup Navi?
Verify that your printer is on the same Wi-Fi network as your computer, switched on, and connected correctly.
After setup, do I have to keep Epson Setup Navi?
It's useful to save it for further upgrades or in case your Wi-Fi changes.
Are all Epson printers compatible with Epson Setup Navi?
The majority of contemporary Epson printers are compatible. To be certain, check the support page for your model.
Is Epson Setup Navi compatible with mobile setup?
Epson advises utilizing the Epson Smart Panel app on mobile devices instead.
If Epson Setup Navi isn't working, where can I obtain assistance?
For assistance, go to Epson's official support page or get in touch with Epson Customer Support.

