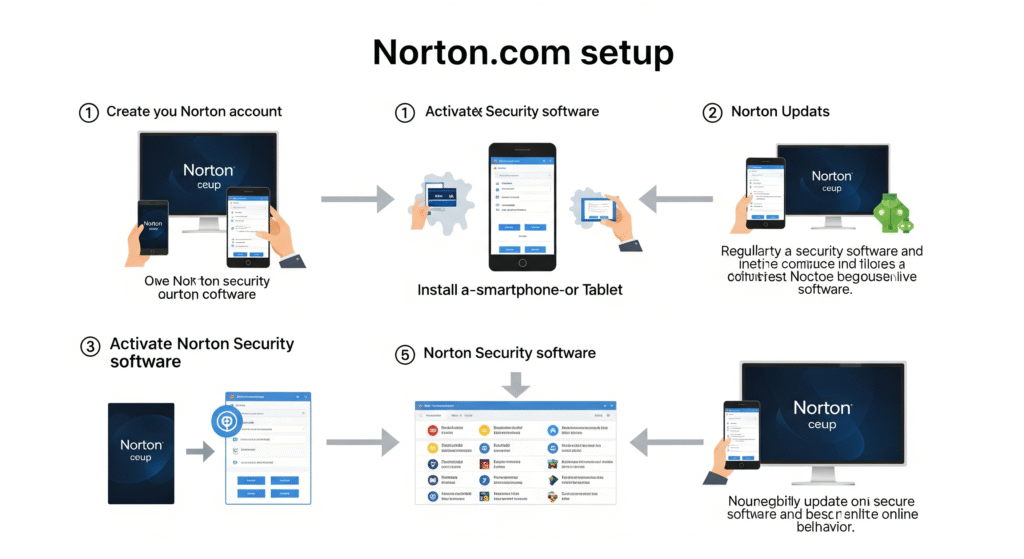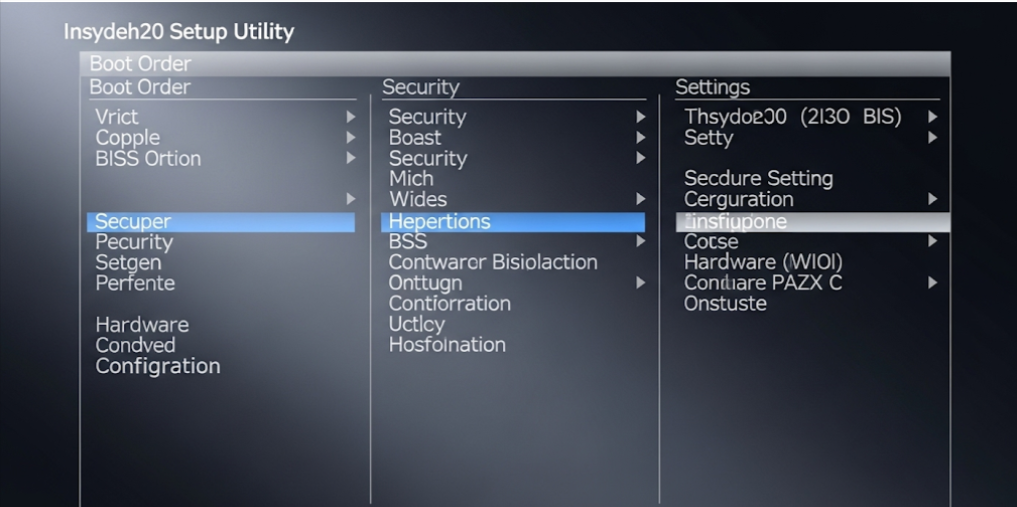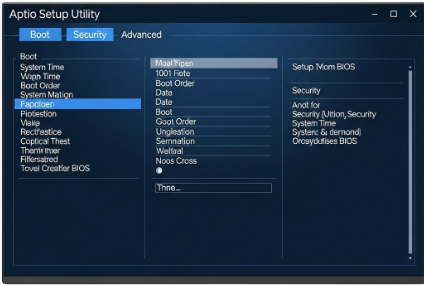
Posted inUtilities & System Tools Setup
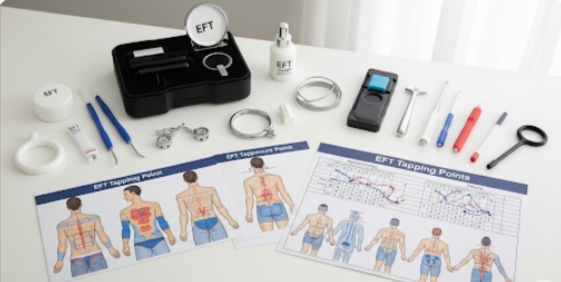
eft setup ❤️
On a gloomy evening when Maya's fear was weighing heavy on her chest, the Emotional Freedom Technique (EFT Setup) transformed her life. She tried tapping lightly on her face and upper torso while concentrating on her dread, rather than seeking for medicine. To her astonishment, the tension subsided like storm clouds gradually dissipating. She felt ... Read more