Posted inMobile & OS Setup
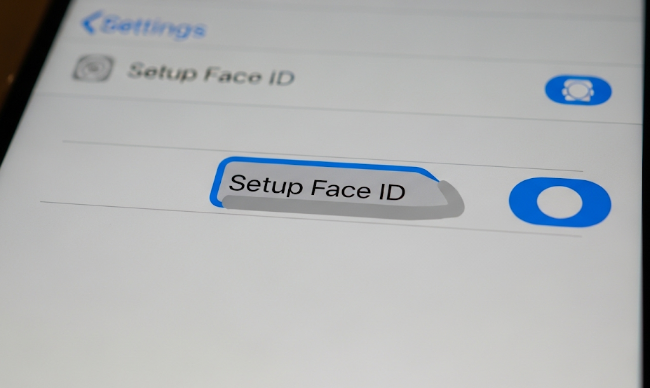
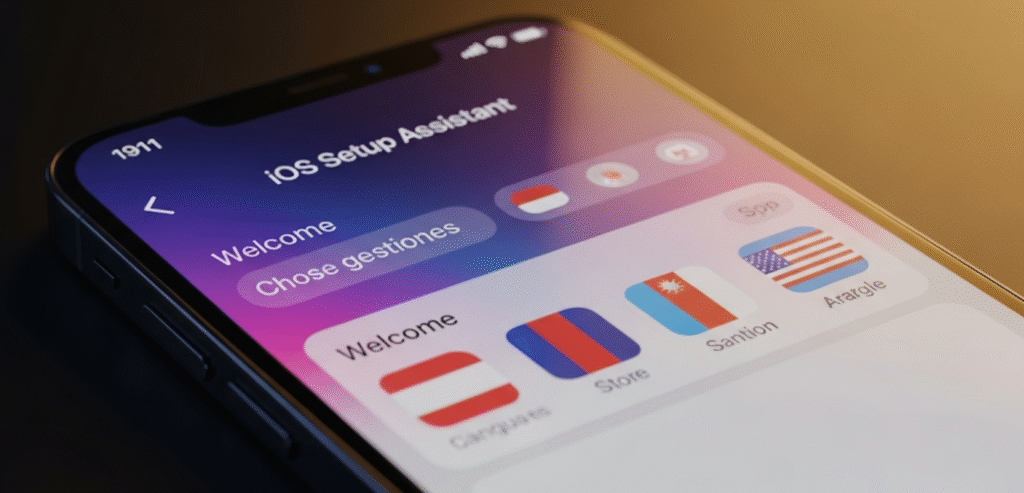
ios setup assistant ❤️
"iOS Setup Assistant" – I can still clearly recall this screen when I initially opened my iPhone's box. I was both excited and curious as it walked me through every step, from connecting to Wi-Fi to logging into my Apple ID. Suddenly, what seemed like a difficult procedure became straightforward, as if the phone were ... Read more