Posted inHousehold & Miscellaneous Setup
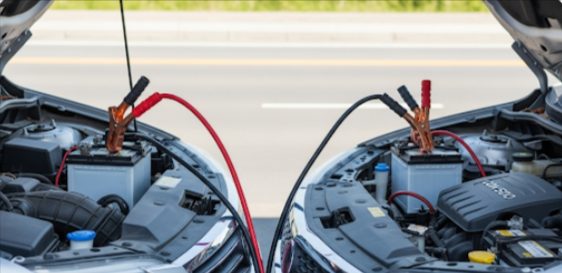
jumper cable setup ❤️
As Alex's car refused to start on a desolate roadway in the waning dusk light, the only thing on his mind was Jumper Cable Setup. The situation seemed dismal because there was no mechanic in sight and the battery was dead, but then a friendly stranger stopped and smiled confidently to offer assistance. Alex understood ... Read more