Posted inHardware & Device Setup
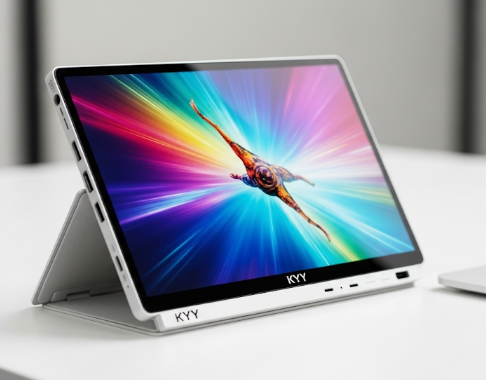
kyy portable monitor setup ❤️
Hello friends, In today's fast-paced world, portable monitor play a great role. Your kyy portable monitor setup should be configured properly to get the best out of it. Let's see the information about kyy portable monitor setup as follow. Why Pick a Portable Onkyy Monitor? Hi Reader, For good reason, portable monitors like the Onkyy ... Read more